Geffellz18
Senior Member
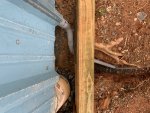
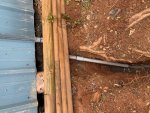
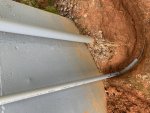
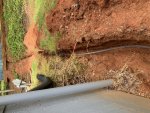
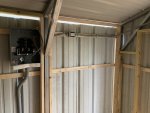
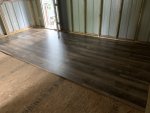
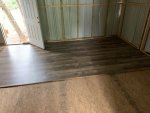
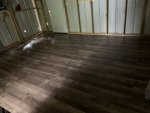
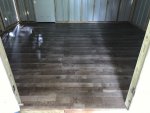
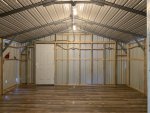
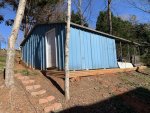
Welp, finally got the shop sheeted out…Just have to cut a few finish pieces for under the door openings and a small piece above the double doors just to finish it off. That and install the corner covers and it’s really a wrap.
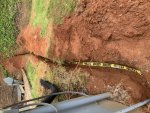
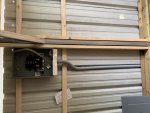
Now on to electrical!
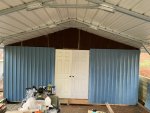
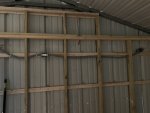
The rusty tin on the interior gable pay homage to the family homestead barn back home in NW FL….it was built back in the 50’s so not terribly old, but I wanted to repurpose some of it somehow since last month, I helped my aunt & uncle tear the roof off, salvaging the tin and rough cut heart pine-which I’ll be using for wood pieces….Here’s a piece I made a few years back from some pieces that had already fallen down. It currently serves as our coffee table at the moment. Kept completely rough on purpose, but did sand it a little to smooth it out & used some tung oil on it.


All of the roof rafters from the barn were milled on site from all of the tree cut off the property to start the farm which I just found out about from my Aunt-As is all of the wood paneling in the house.
To finish it off, we discovered an old 5-6’ crosscut saw that’s seen better days, but could probably be restored by sand blasting and replacing the handles-But it’s going to live many years above the double doors in a frame!
Now on to electrical!


The rusty tin on the interior gable pay homage to the family homestead barn back home in NW FL….it was built back in the 50’s so not terribly old, but I wanted to repurpose some of it somehow since last month, I helped my aunt & uncle tear the roof off, salvaging the tin and rough cut heart pine-which I’ll be using for wood pieces….Here’s a piece I made a few years back from some pieces that had already fallen down. It currently serves as our coffee table at the moment. Kept completely rough on purpose, but did sand it a little to smooth it out & used some tung oil on it.


All of the roof rafters from the barn were milled on site from all of the tree cut off the property to start the farm which I just found out about from my Aunt-As is all of the wood paneling in the house.
To finish it off, we discovered an old 5-6’ crosscut saw that’s seen better days, but could probably be restored by sand blasting and replacing the handles-But it’s going to live many years above the double doors in a frame!
Last edited:

