hayseed_theology
Senior Member
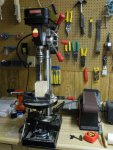
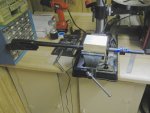
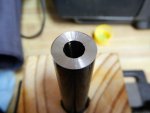
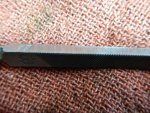
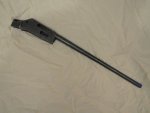
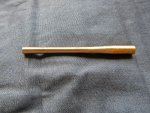
I cut the barrel down tonight. Will post pics and write up tomorrow on my lunch break. Too tired to do it tonight.
Man I love reading your post Hayseed! Thanks for sharing...I have a Marlin 336 .35 that I want to dissasemble, clean and then reblue and re stain the stock. Ive saved your post from when you did yours. I'm afraid I want be able to put it back together.lol
Very nicely done. Gettin to be more fun with each try and lots more ideas buzzin round in there too huh?
Thanks! Get yourself a little gunsmith screwdriver set and watch a bunch of youtube videos! I guarantee you can take it apart and put it back together. If you run into a snag, take some pics and post 'em here in the Gunsmith section. I'm sure Sharps40 could tell you how to get it back together. Some of his old threads have great explanations and pics of reblueing and refinishing stocks.
Man, that's the worst part of it! So many ideas, so little time and money. I've got 3 or 4 build ideas rolling around in my head right now, and that's just for 336's!

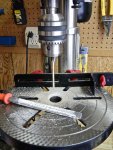

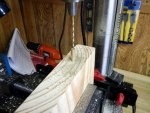


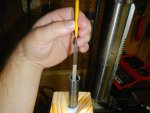
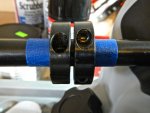
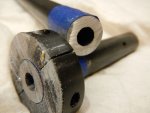
Yep. Drill bit walking over a concave then convex surface and outta line holes.
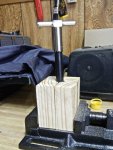
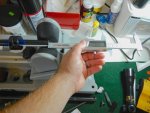
The jug will help with the top hole. The bottom hole not so much since there is still a long bendy length in the tube unsupported.
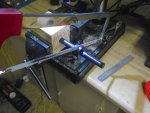
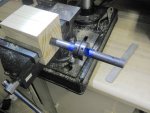
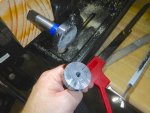
After drillin top-back out bit - leave jig on- center punch lower hole thru jig-drill back thru jij and drill slow thru the second hole. Both holes should line up well enough now. (
Ya can make a home centering jig. Metal bar or round W/3 holes. Center hole to guide bit/punch. Evenly spaced outer holes with pins. Place on tube- twist till pins bare on sides- centerpunch and or drill. Functional if a bit harder to clamp or level up.
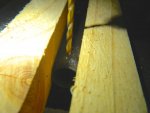
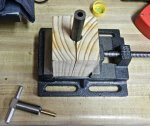
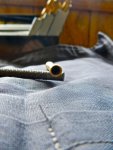
But you will also LOVE the scissors jig.
Dayum. I hadda pay for my safe sided file. Ya grind one side or two?
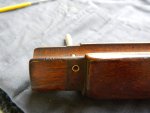
Looking good Chris, lots of time involved I know.